Translations
Localising content in Directus involves using translation strings, which are multilingual key-value pairs that you can use throughout the app. They enable you to translate things like dropdown options, placeholder text, field notes, and more.
This article refers to translating your content in Directus. Many parts of the Data Studio are already translated into multiple languages via community contribution on Crowdin.
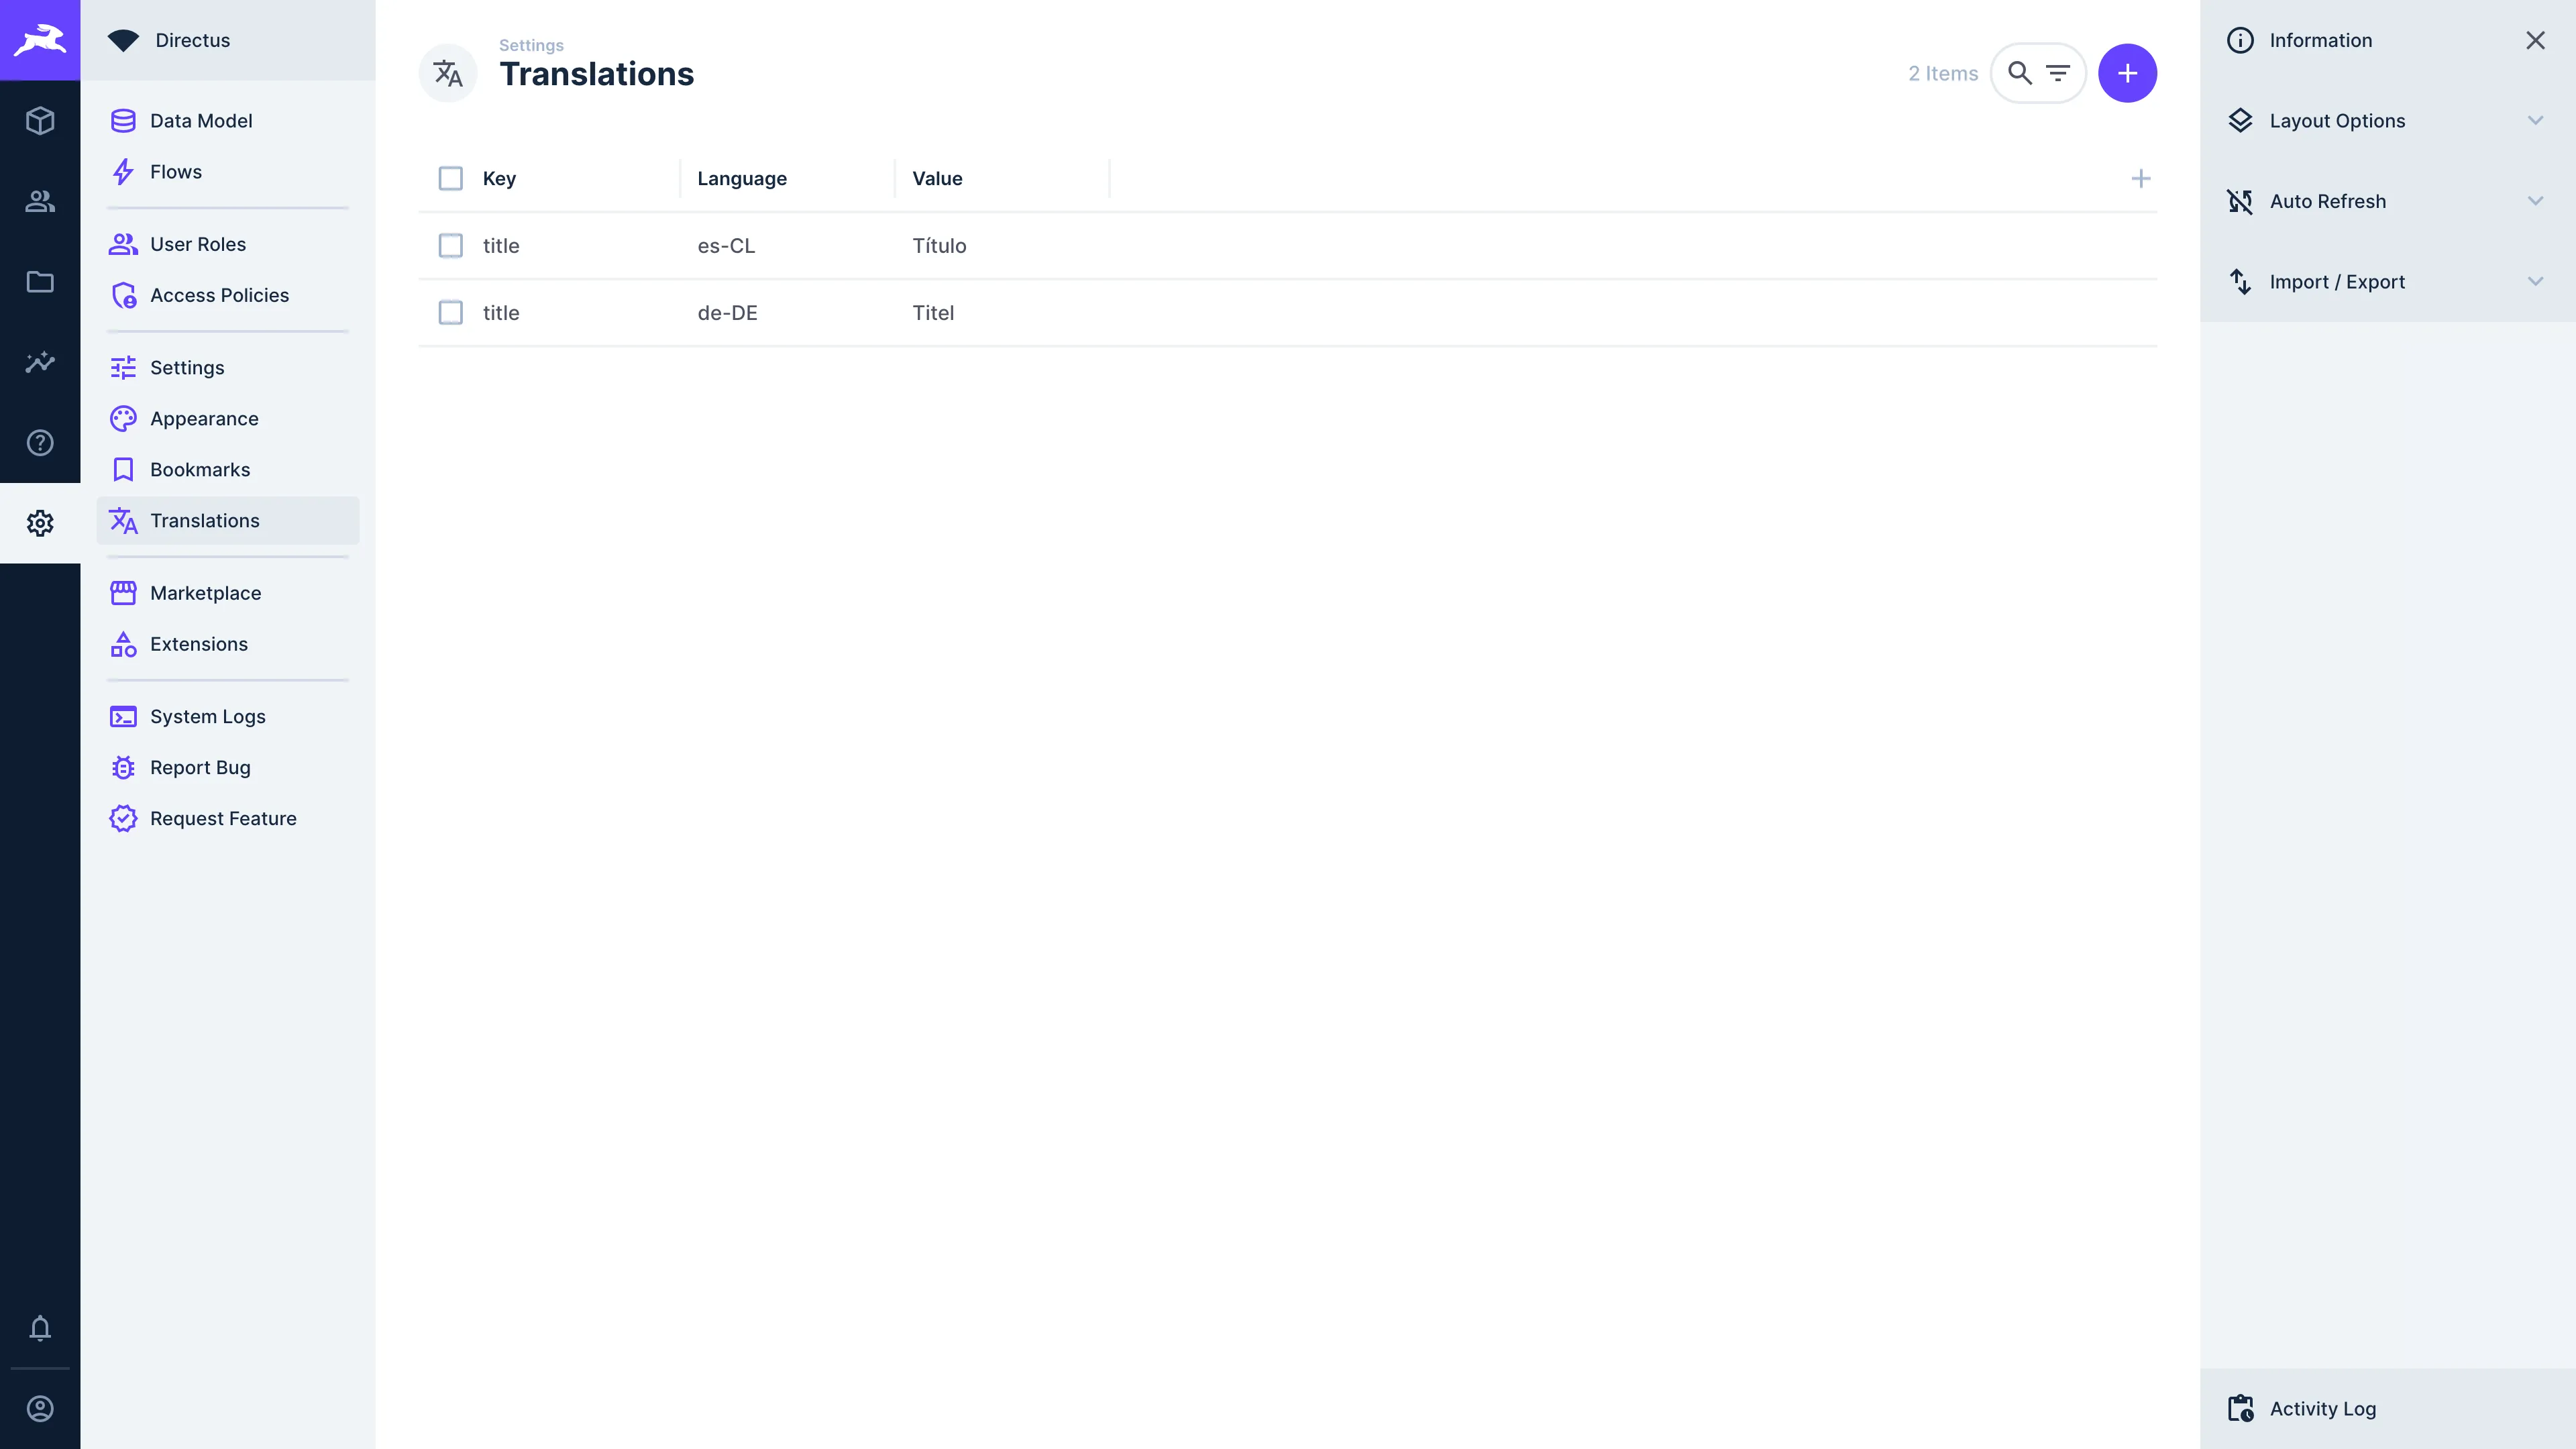
Create a Translation String
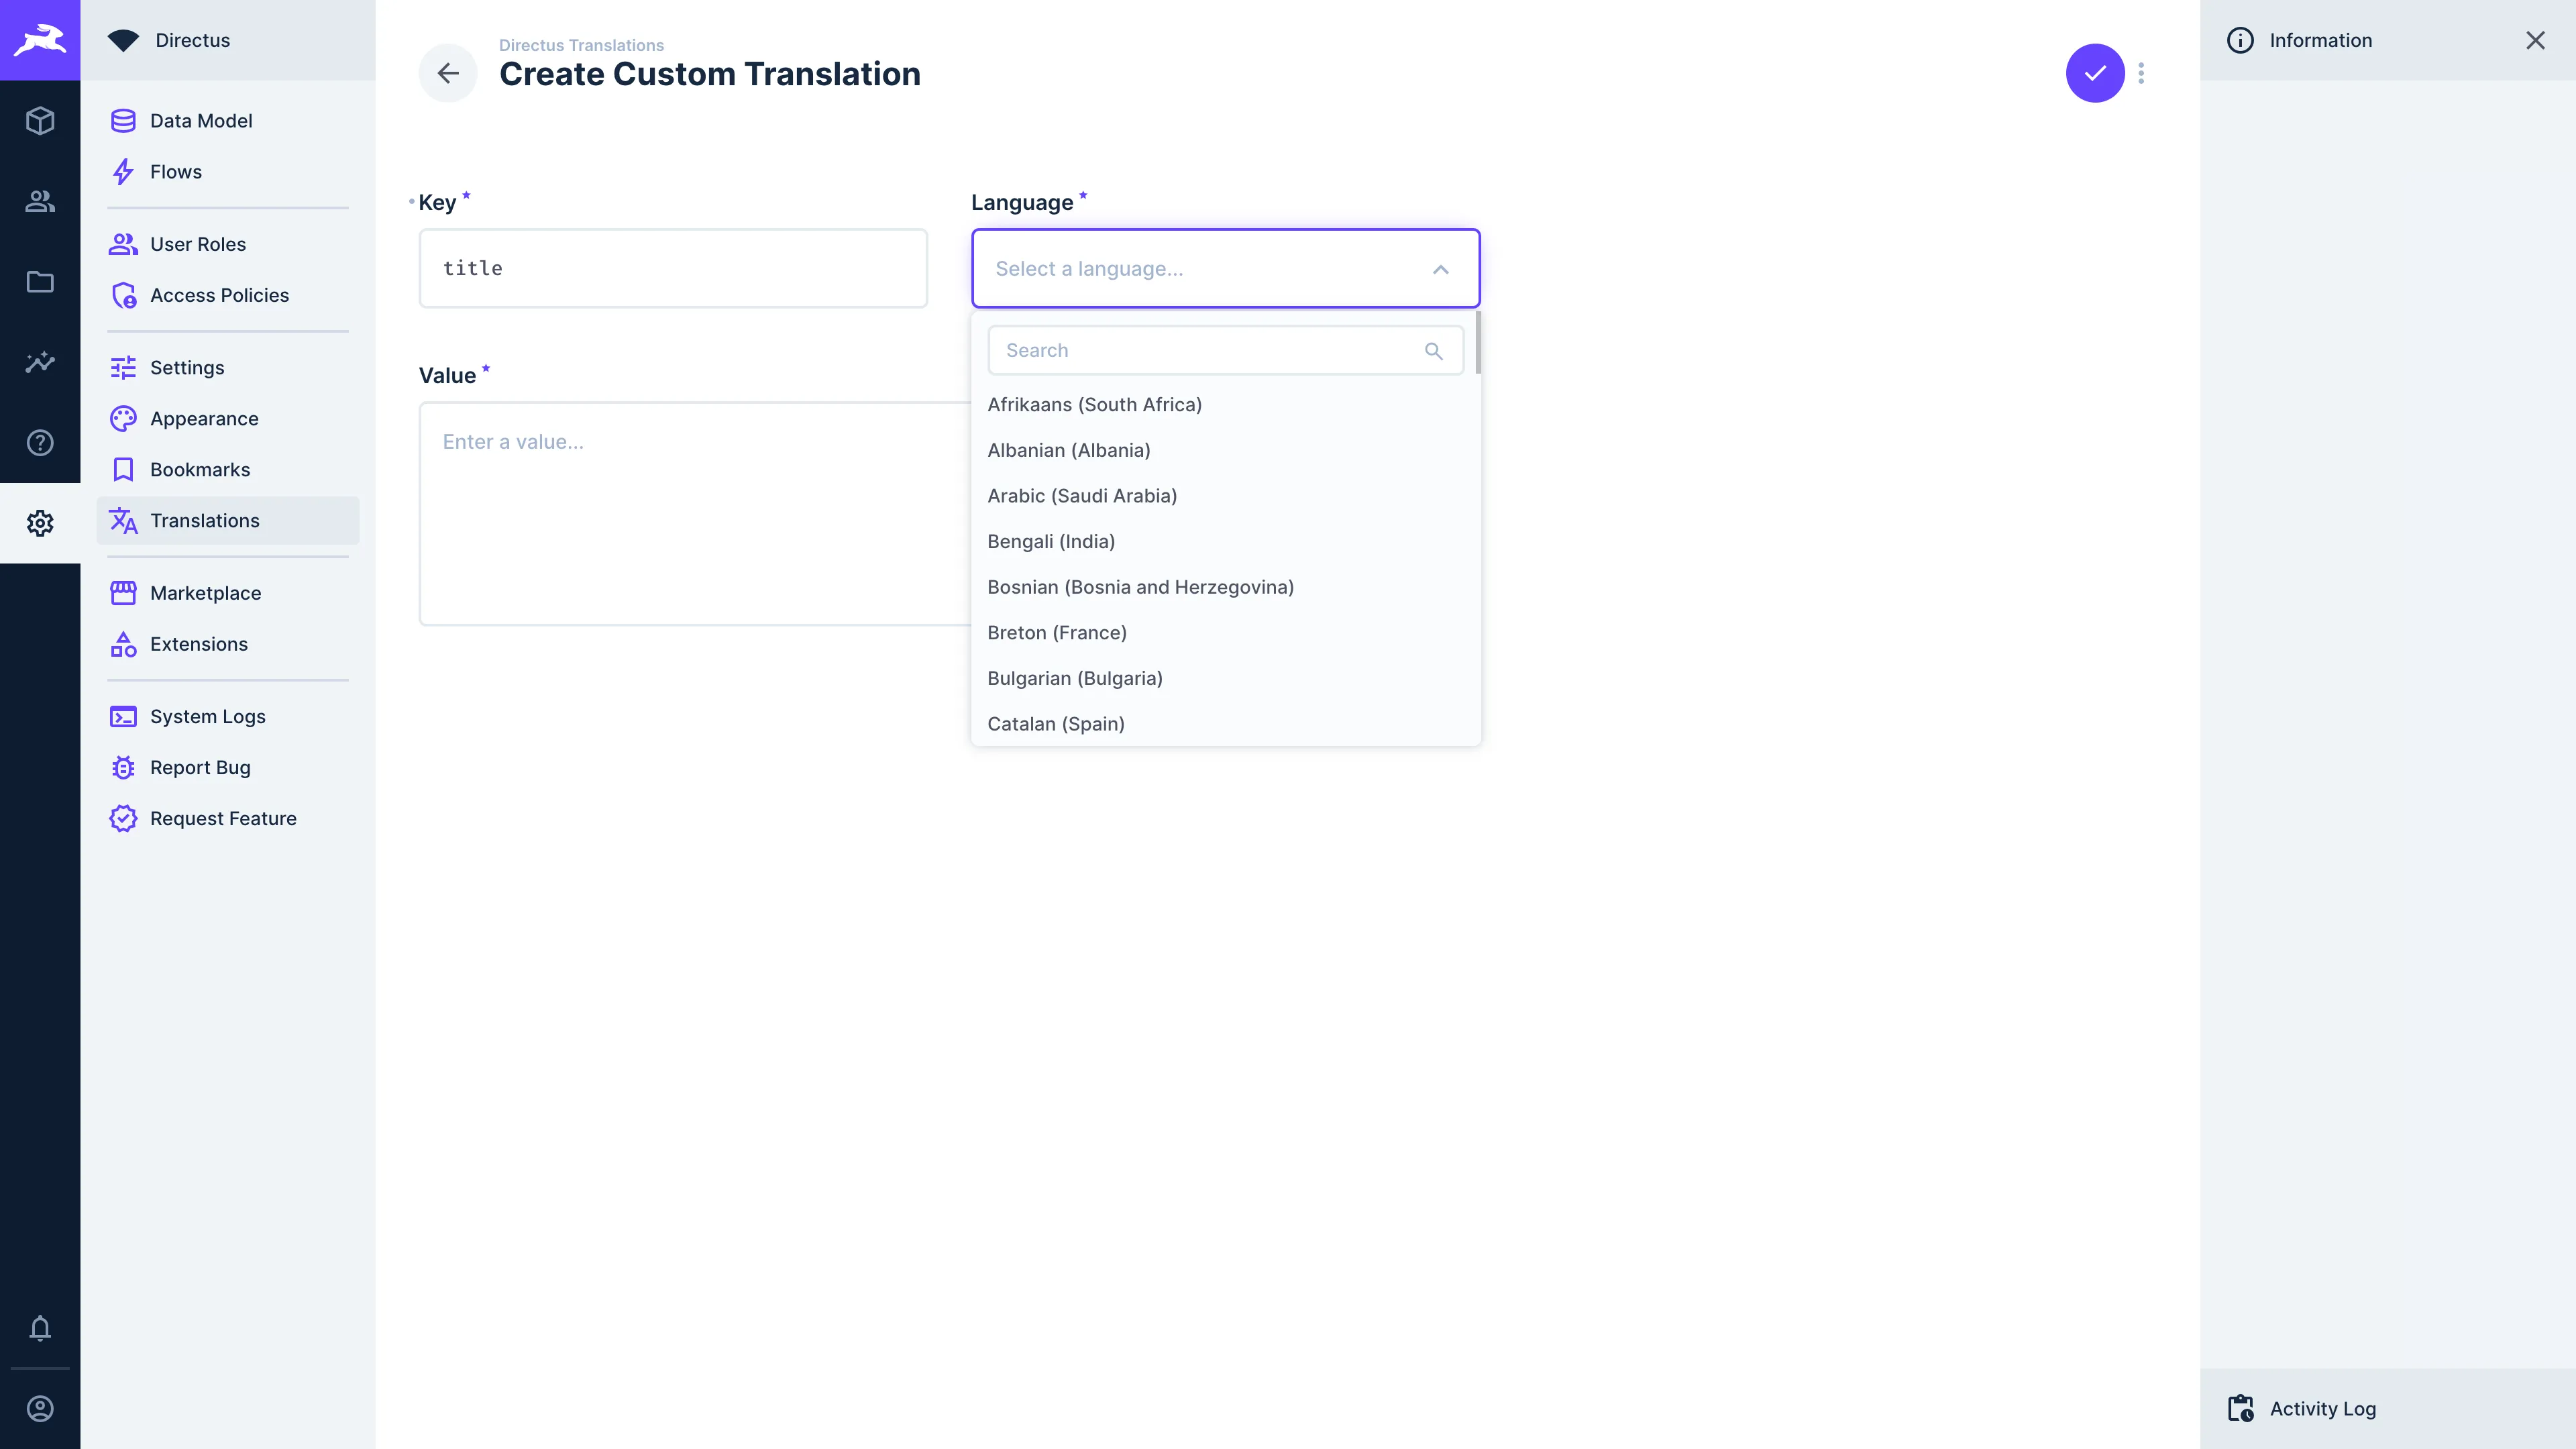
To create a translation string, navigate to Settings > Translation Strings and click on in the page header and a drawer will open.
Add a key and click on "Create New" to open another drawer. Select the language and type in the corresponding translation. Click on to confirm and add the translation.
Use a Translation String
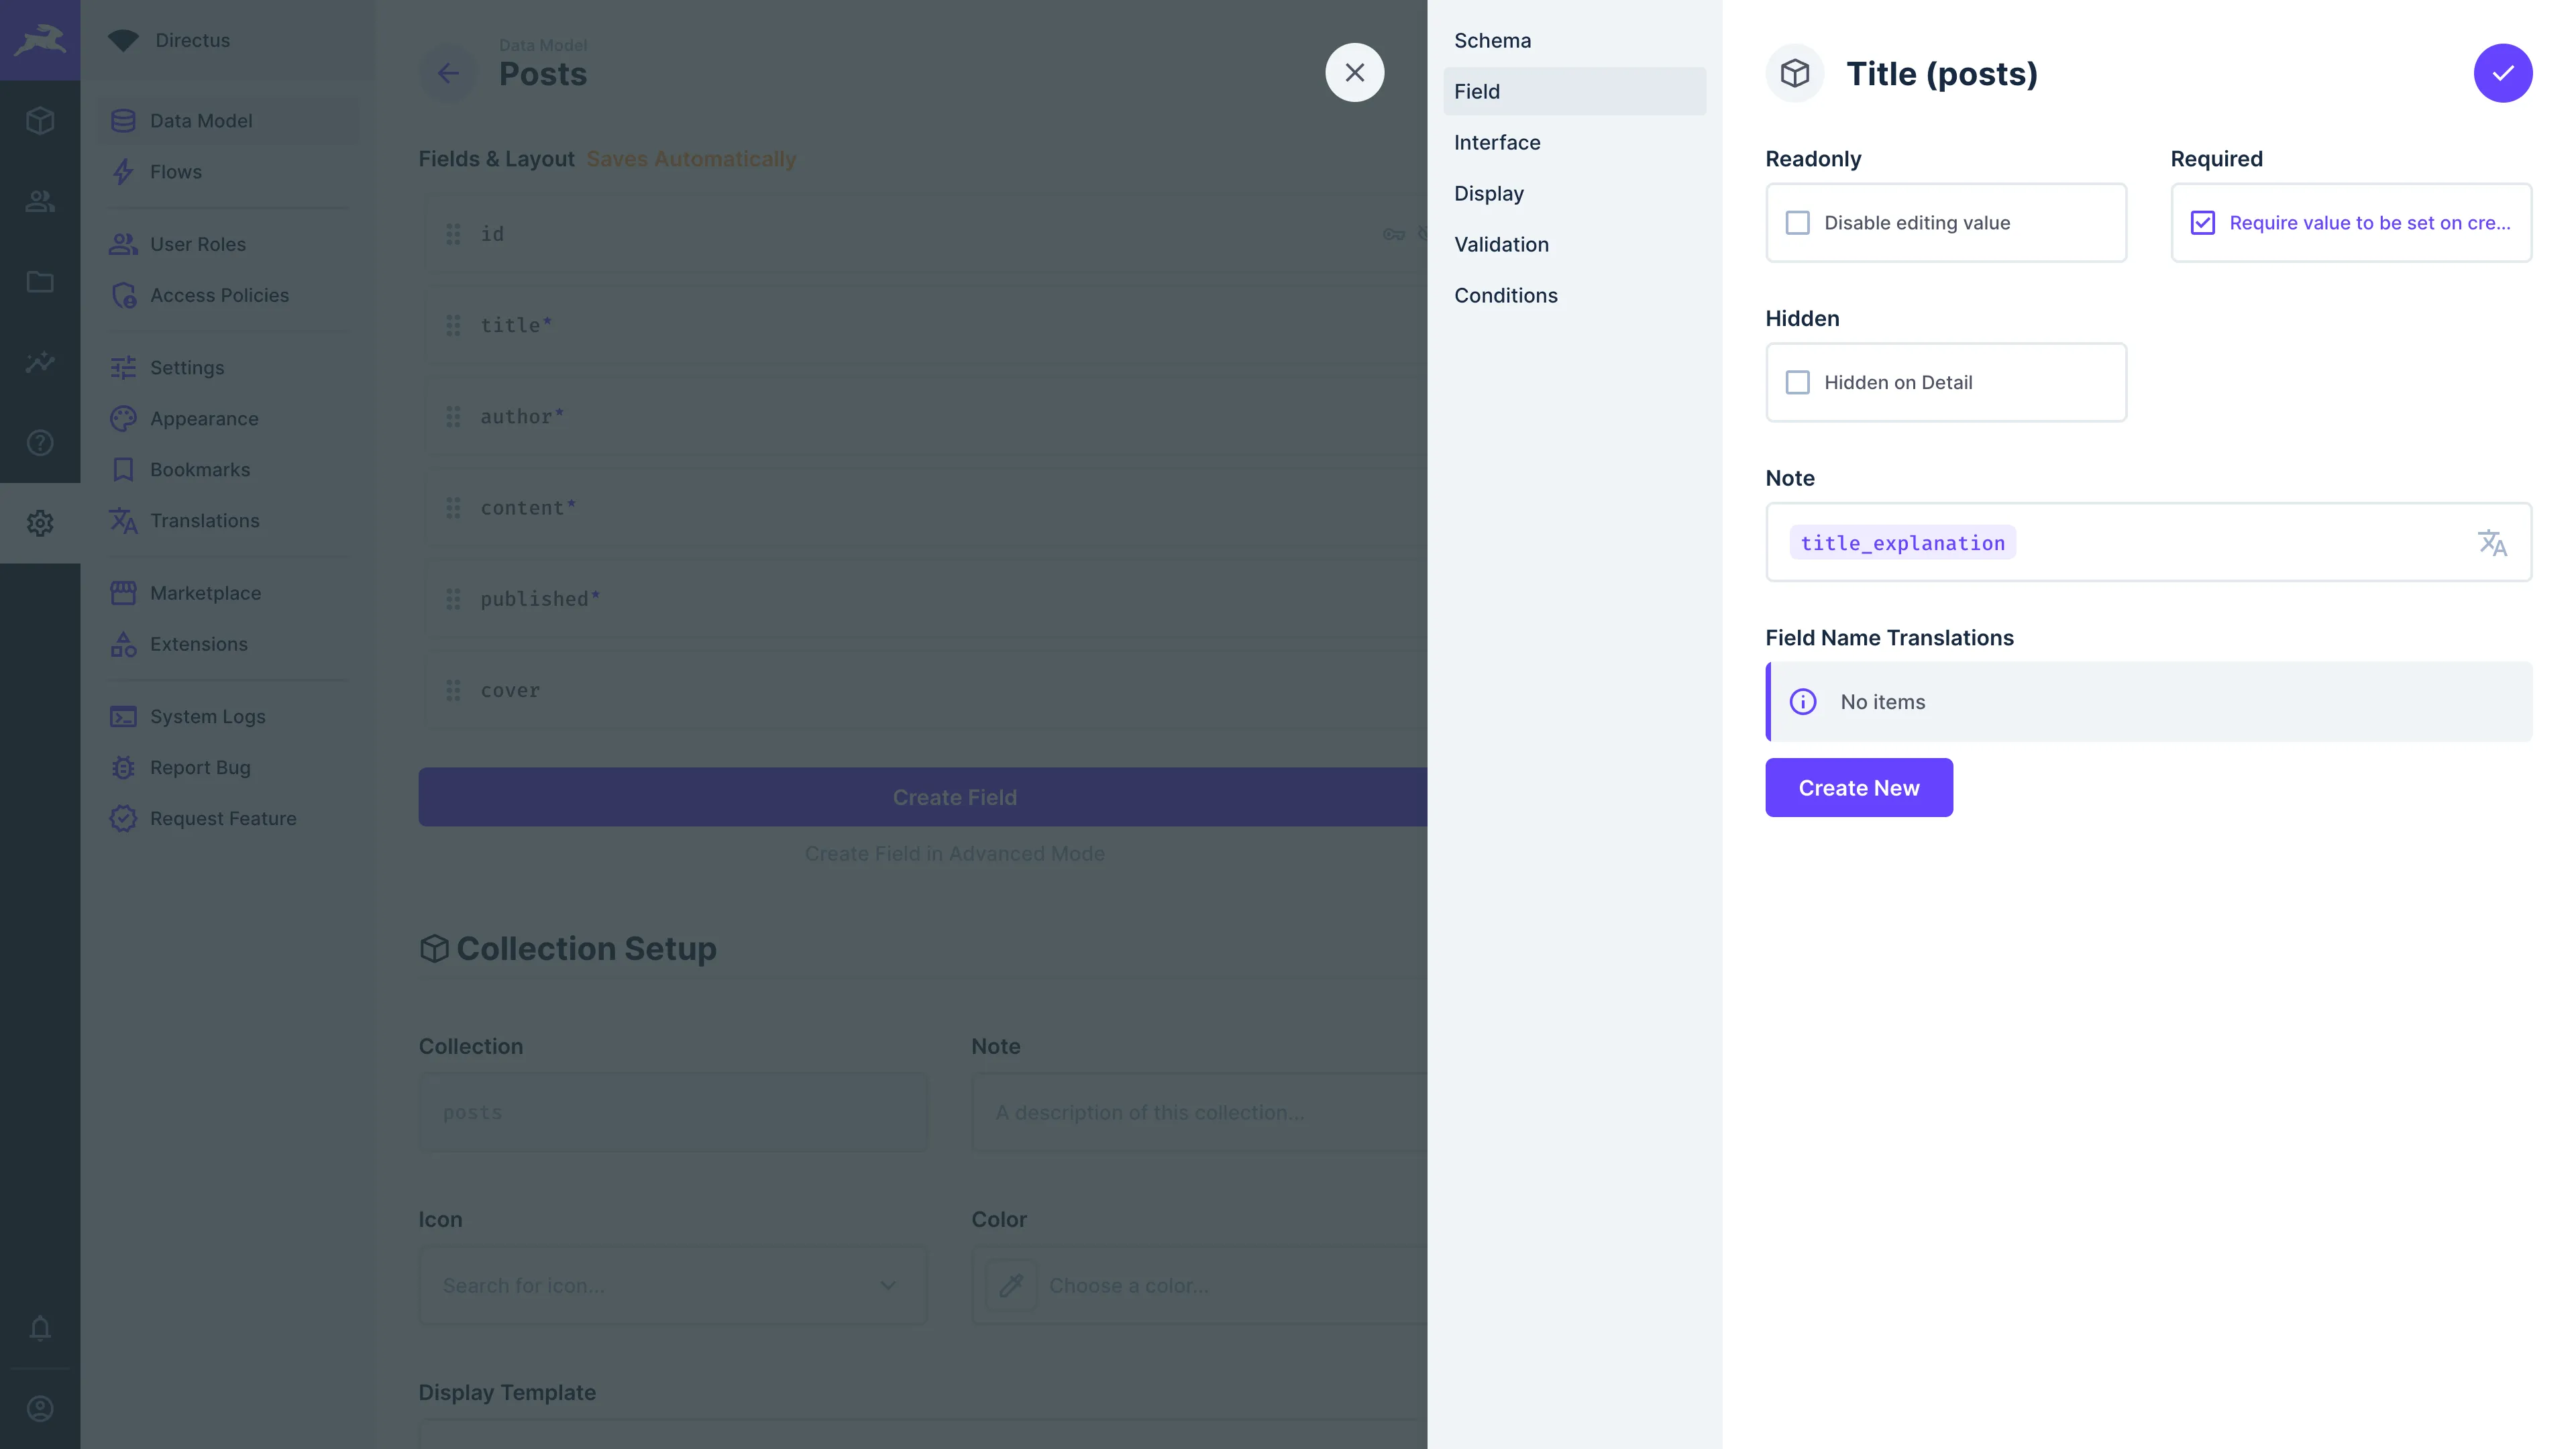
Throughout the settings module, you will notice certain input fields have a icon on them, meaning you have the option assign a translation string.
To assign a translation string, navigate to the input that you'd like to add a translation string to. There are two ways to assign a translation string:
- Click and a dropdown menu with all translation strings will appear.
- Type
$t:translation-string-keyand hit enter.
Choose a translation string key as desired.
There are two ways to change the app language. Administrators can set the project's default language, while users can choose their own personal language preference.
You can also click ":icon{name="material-symbols:add-circle-rounded"} New Translation String" in the dropdown menu to create a new translation string on the fly.
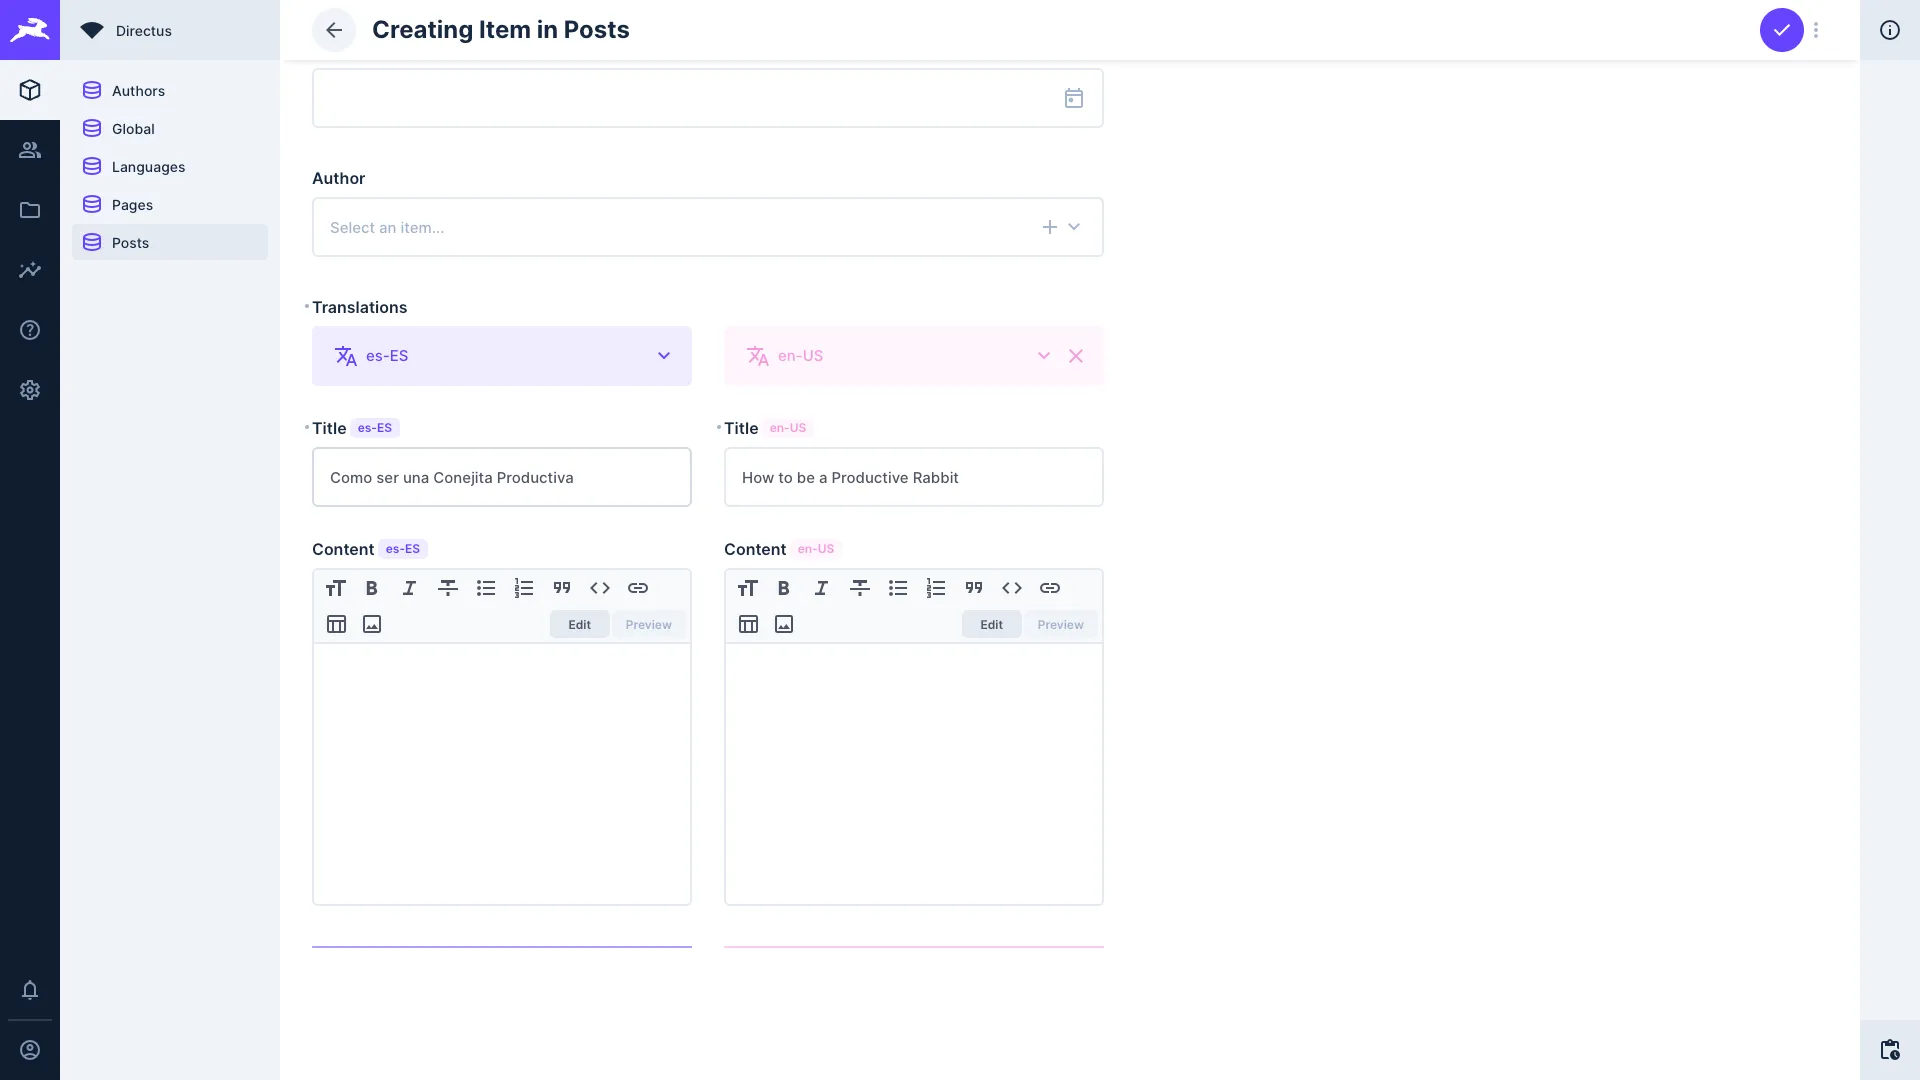
Content Translations
With Directus, you can localize your content into several languages using a translations field on a given collection. Directus provides a built-in wizard to automatically generate the full translations infrastructure, or you can set it up manually.
Quick Setup with Generate Translations
Directus can automatically create all the collections, fields, and relationships needed for content translations.
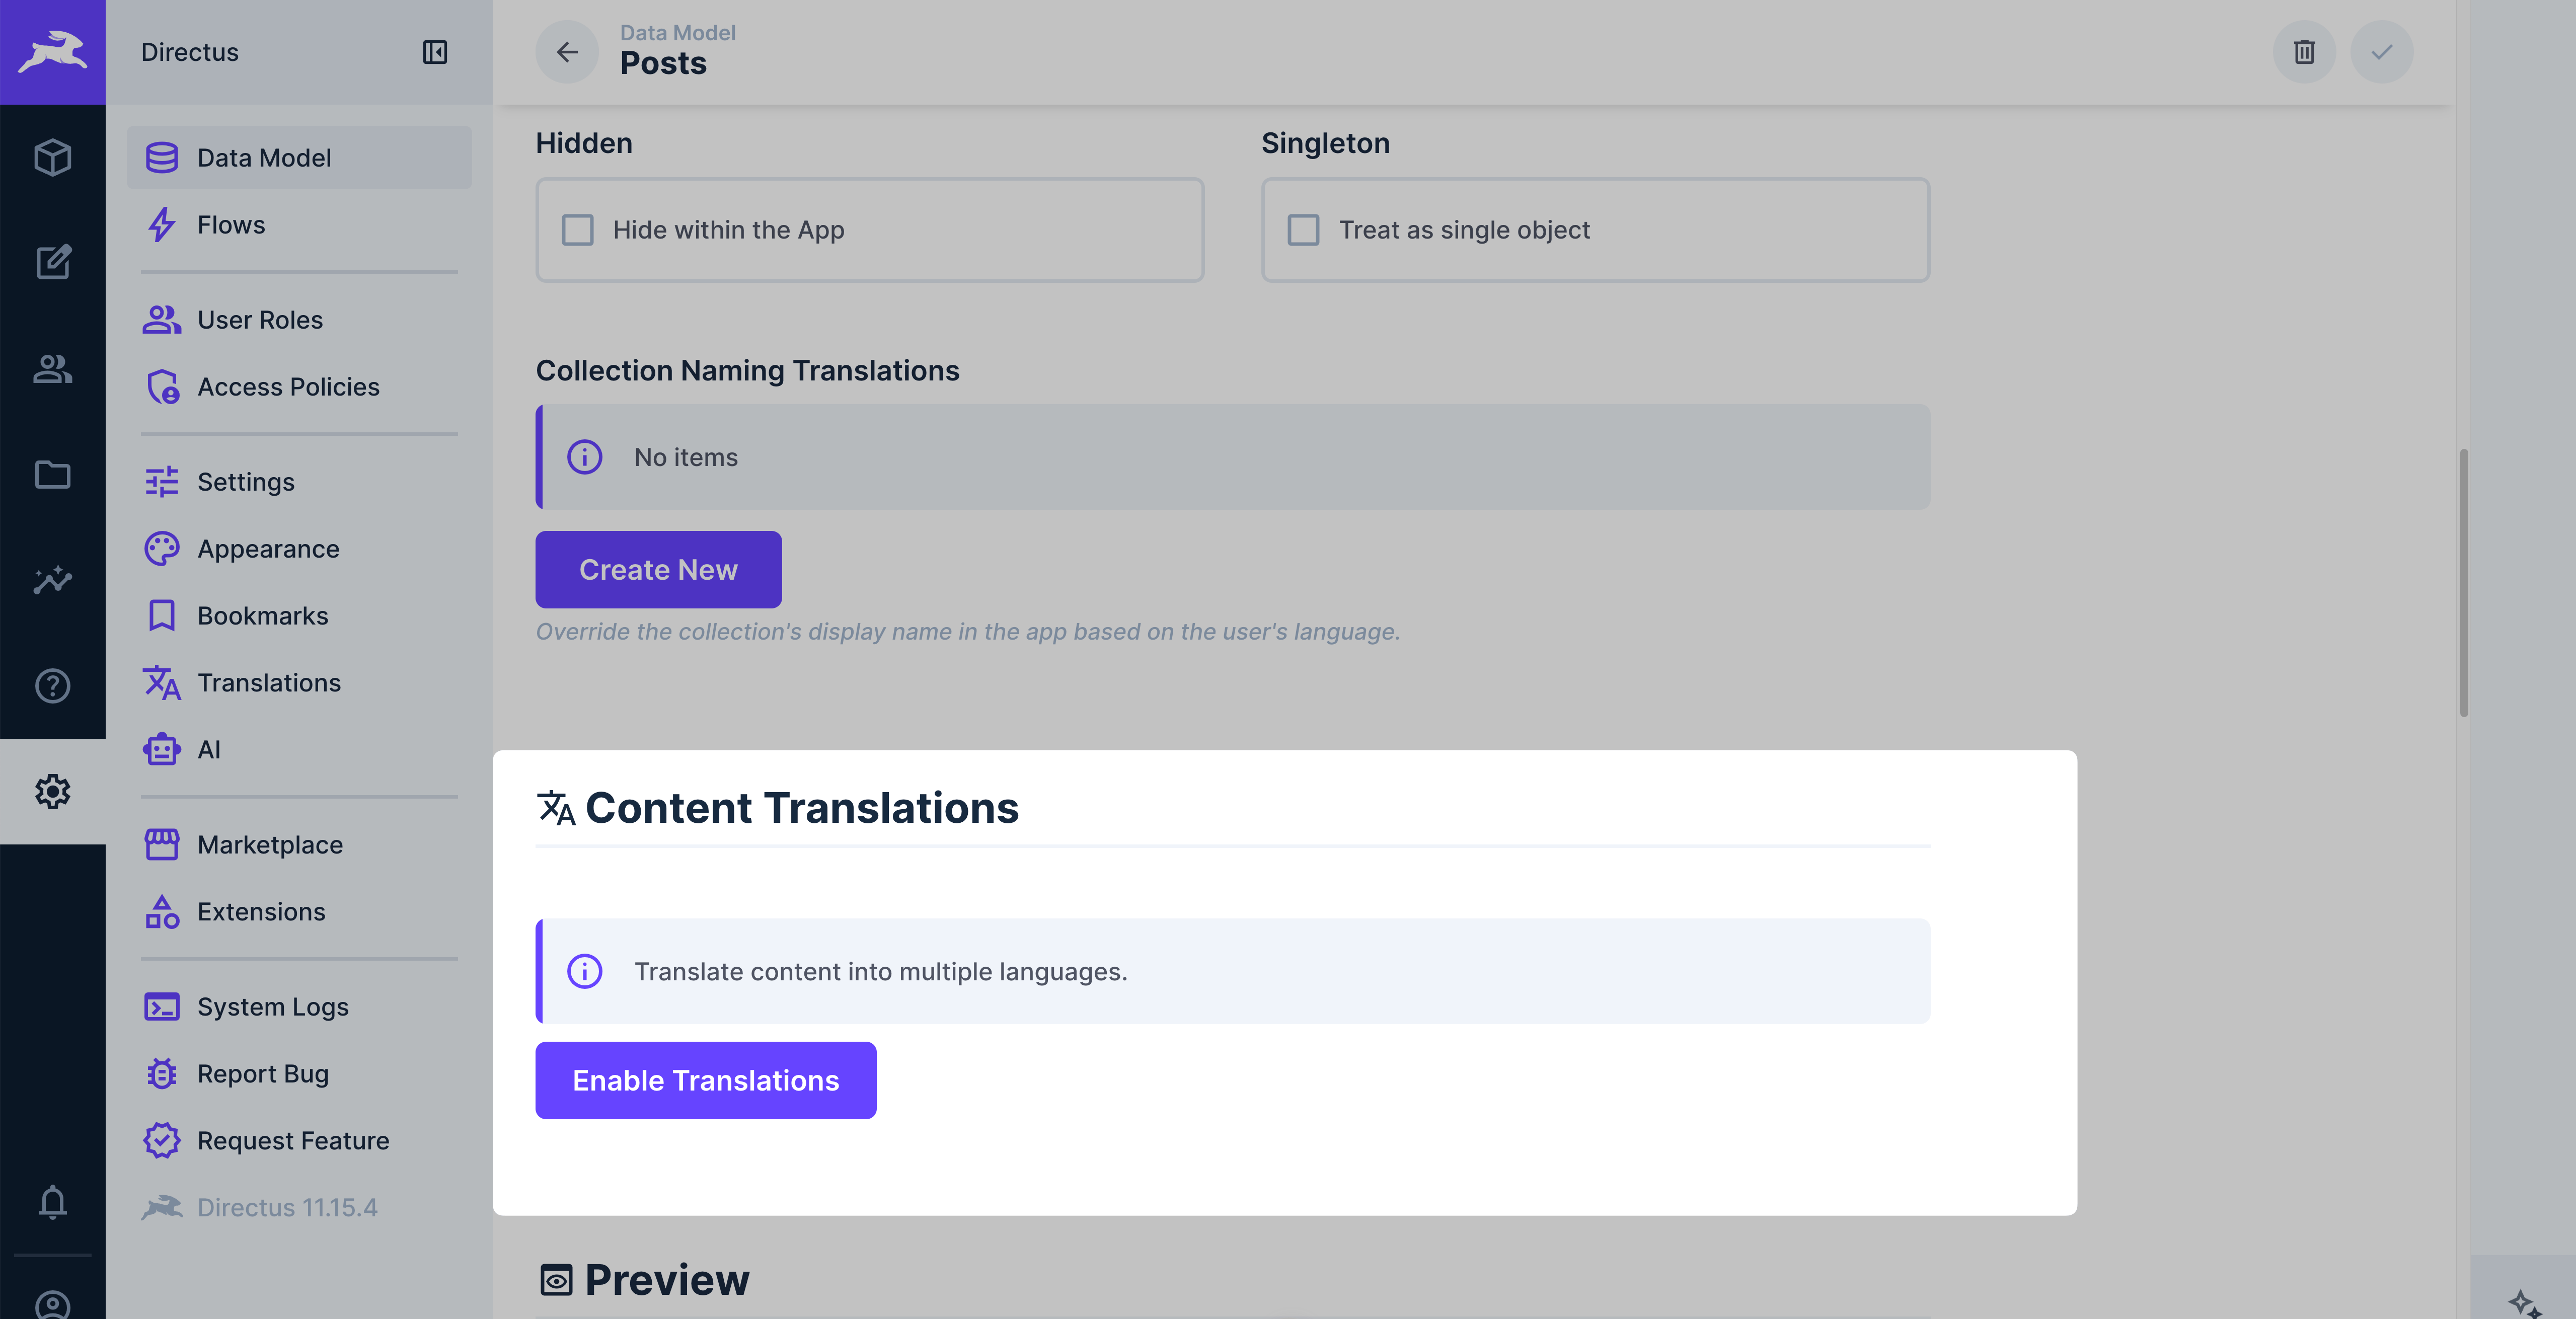
- Navigate to Settings > Data Model and select the collection you want to translate.
- In the collection settings, find the Translations section.
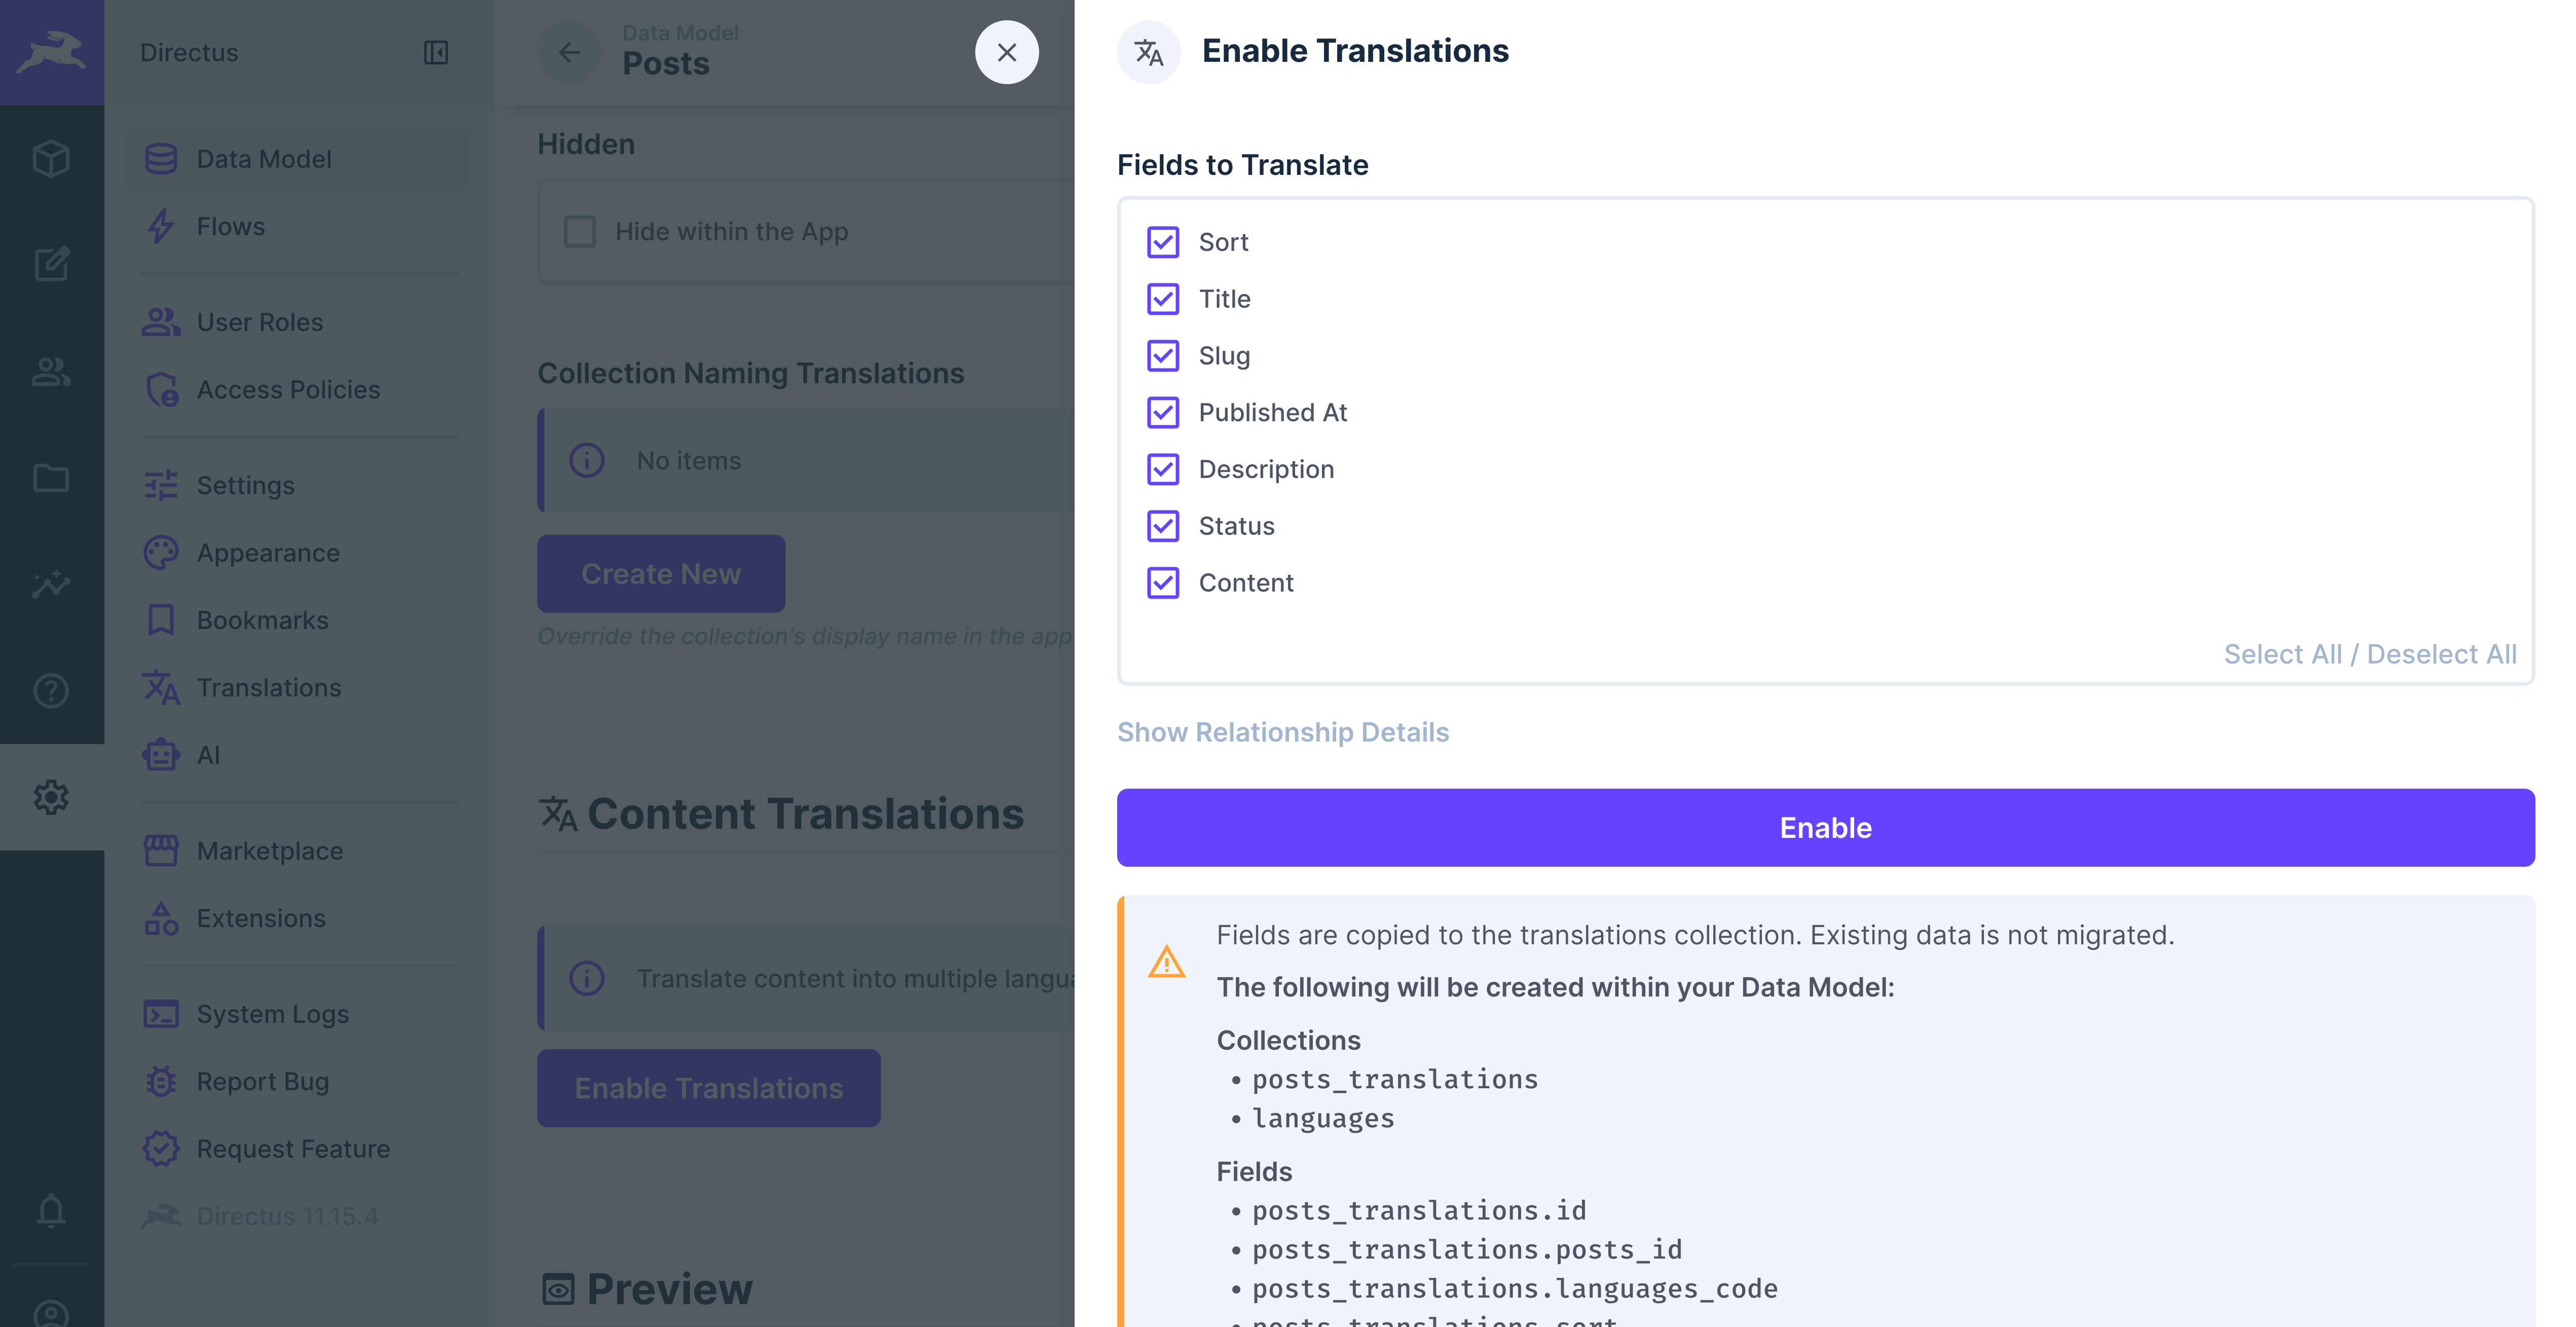
- Click Enable Translations.
- In the dialog, select the fields you want to make translatable.
- Click Enable to generate the translations infrastructure.
This will automatically create:
- A languages collection (if one doesn't already exist), pre-populated with common languages (English, Arabic, German, French, Russian, Spanish, Italian, and Portuguese).
- A translations junction collection (e.g.
articles_translations) containing the selected fields. - The necessary relationships and a translations alias field on the source collection.
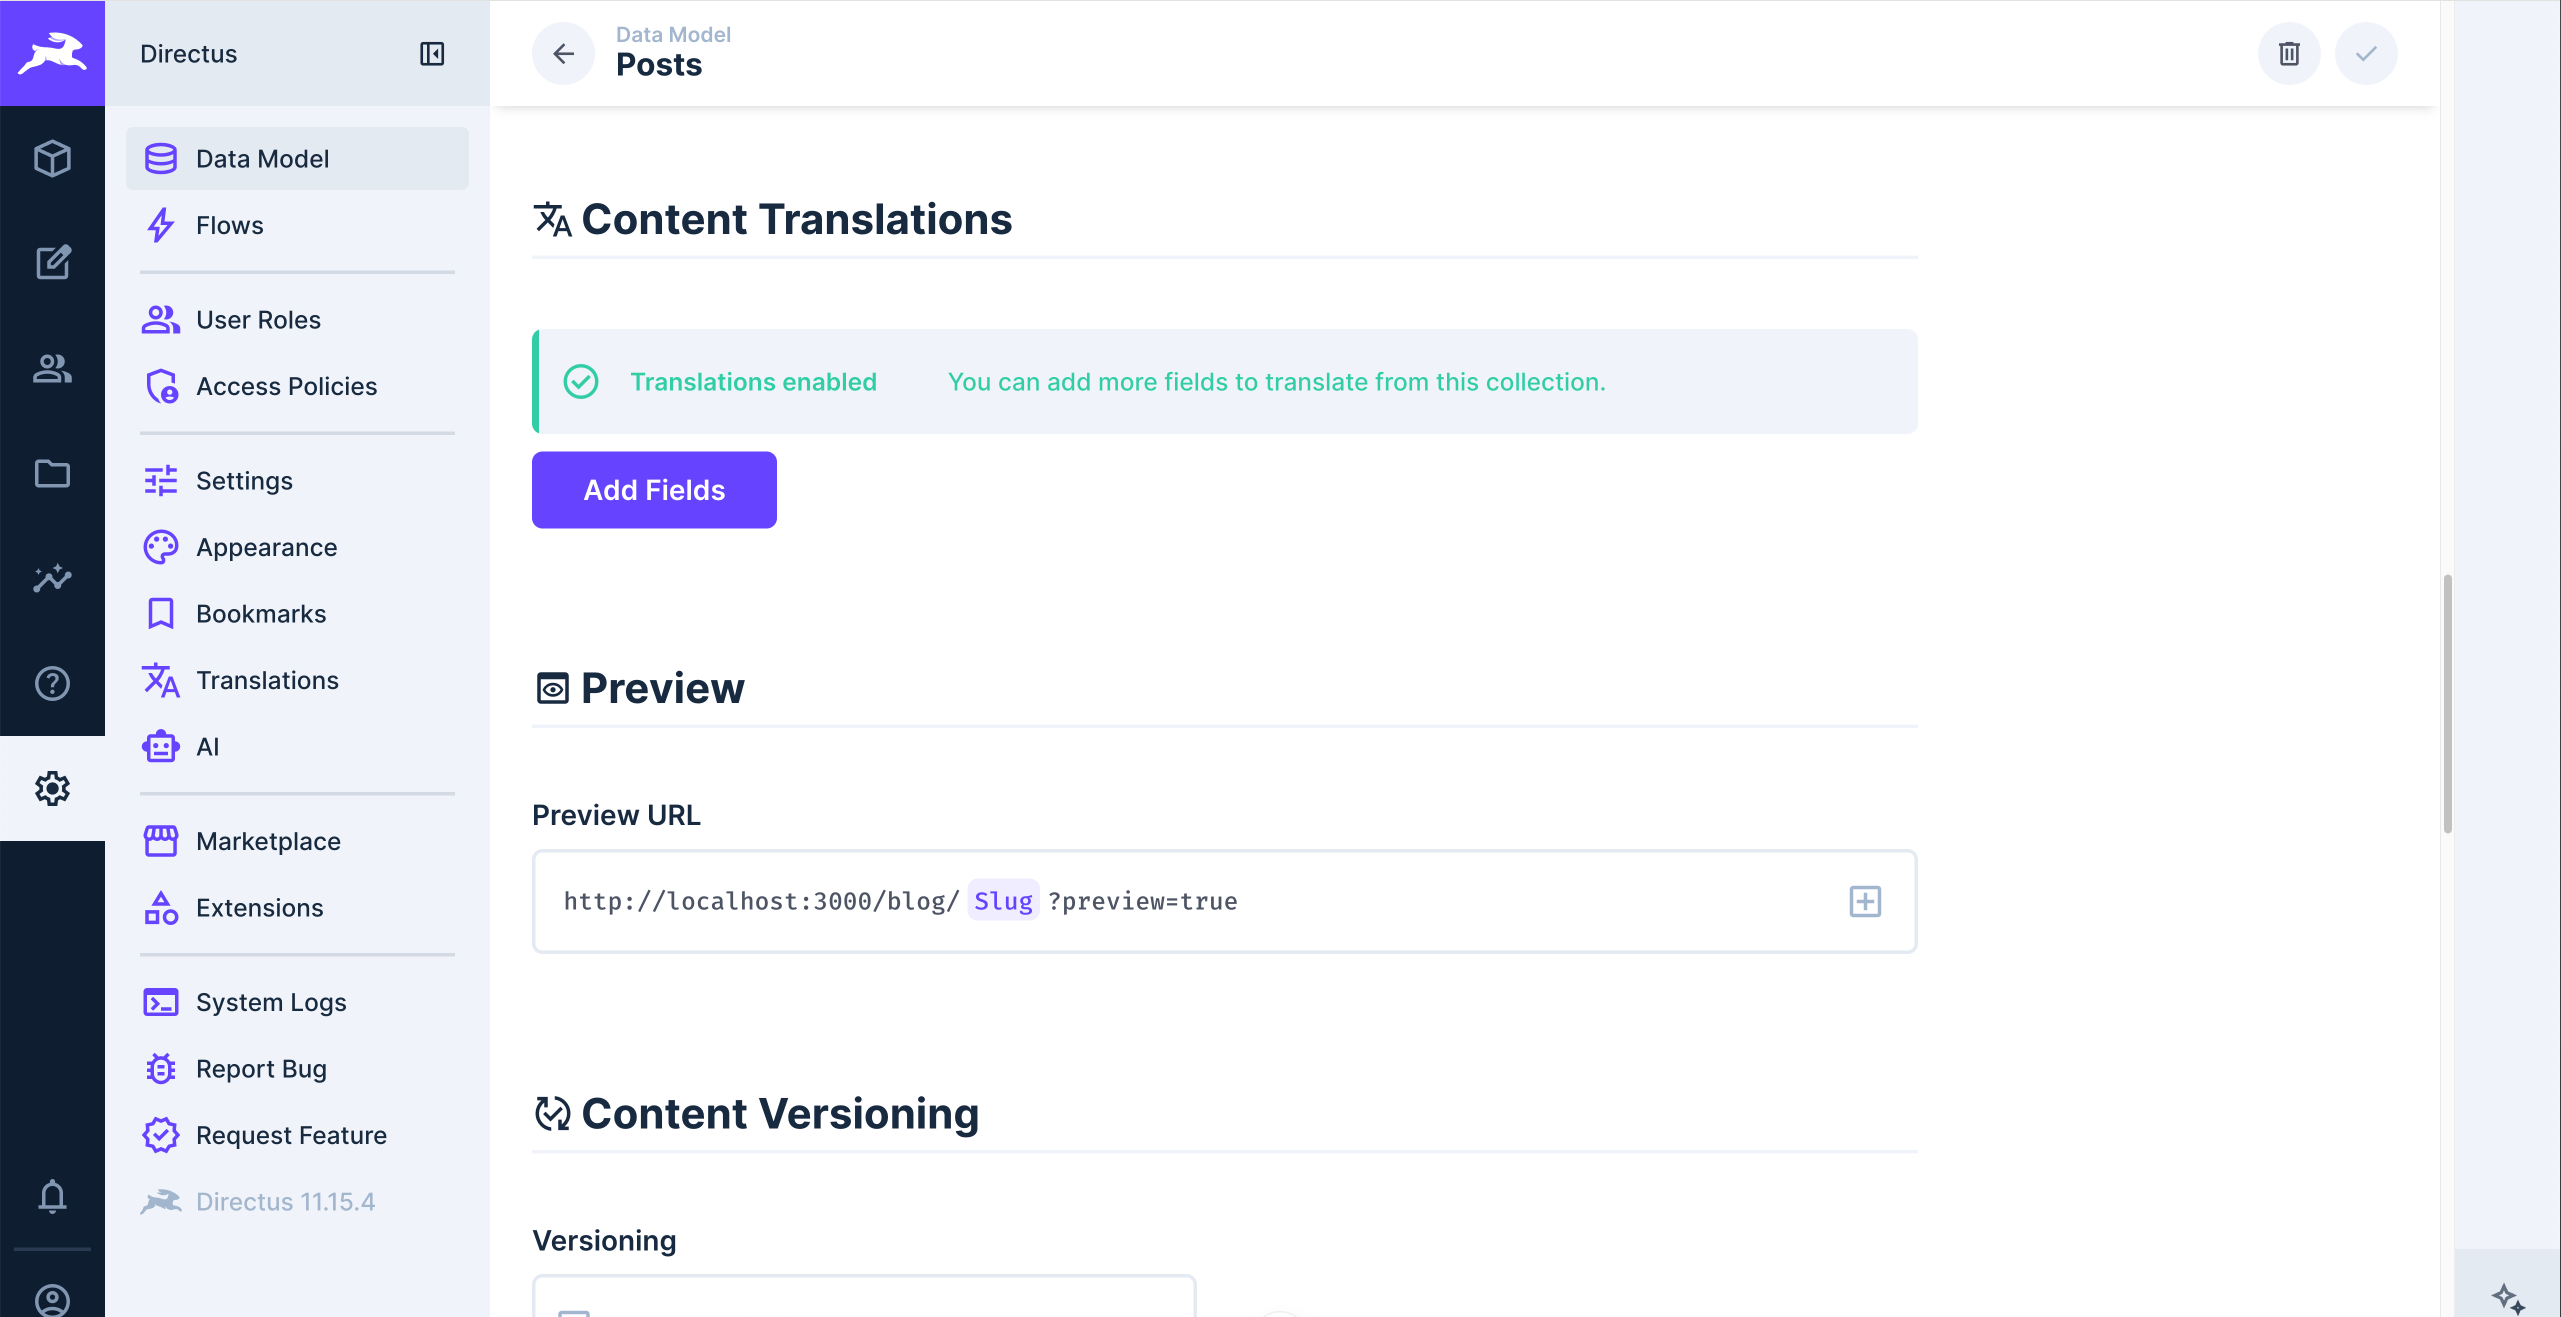
Adding More Translatable Fields
Once translations are enabled, you can add more fields at any time.
- Return to Settings > Data Model and select the collection.
- In the Translations section, click Add Fields.
- Select additional fields and save.
Manual Setup
You can also set up translations manually by creating the required collections and relationships yourself.
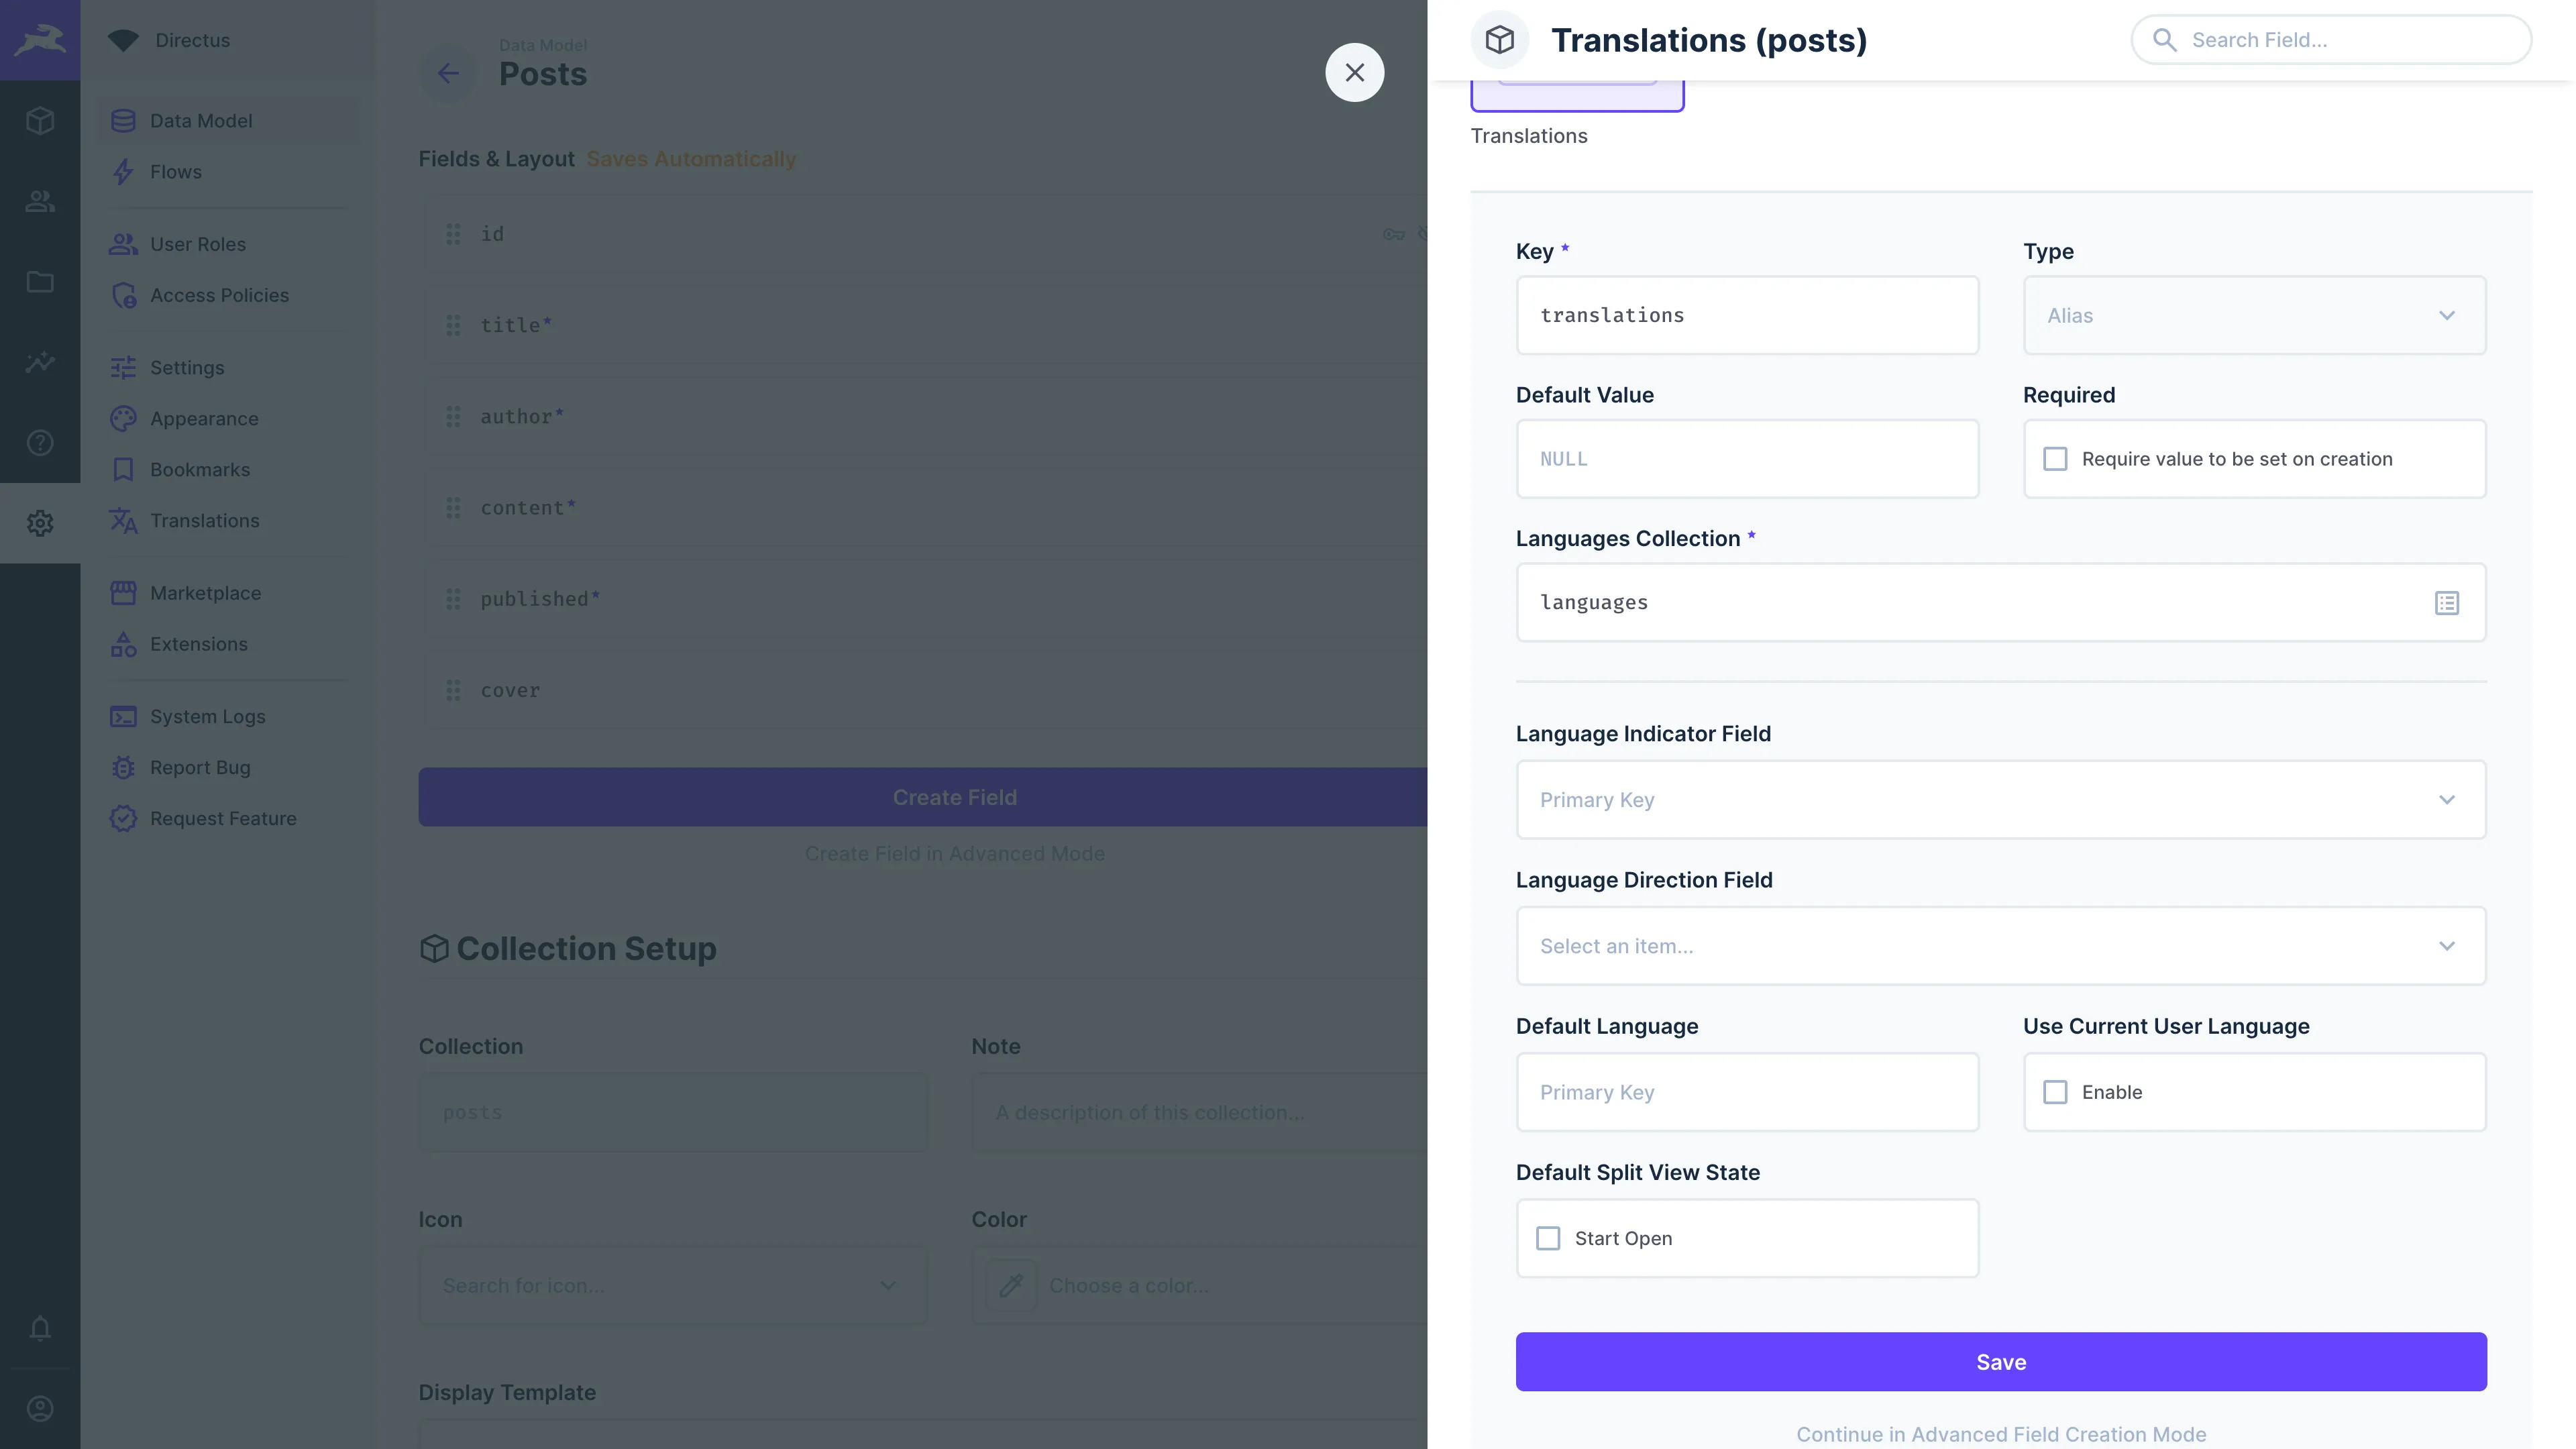
Add a translations O2M alias field to your collection. This will create a pre-populated languages collection, as well as a hidden <collection>_translations collection.
In the "Data Model" section of the settings module, navigate into the <collection>_translations collection and add the fields which you'd like to translate.
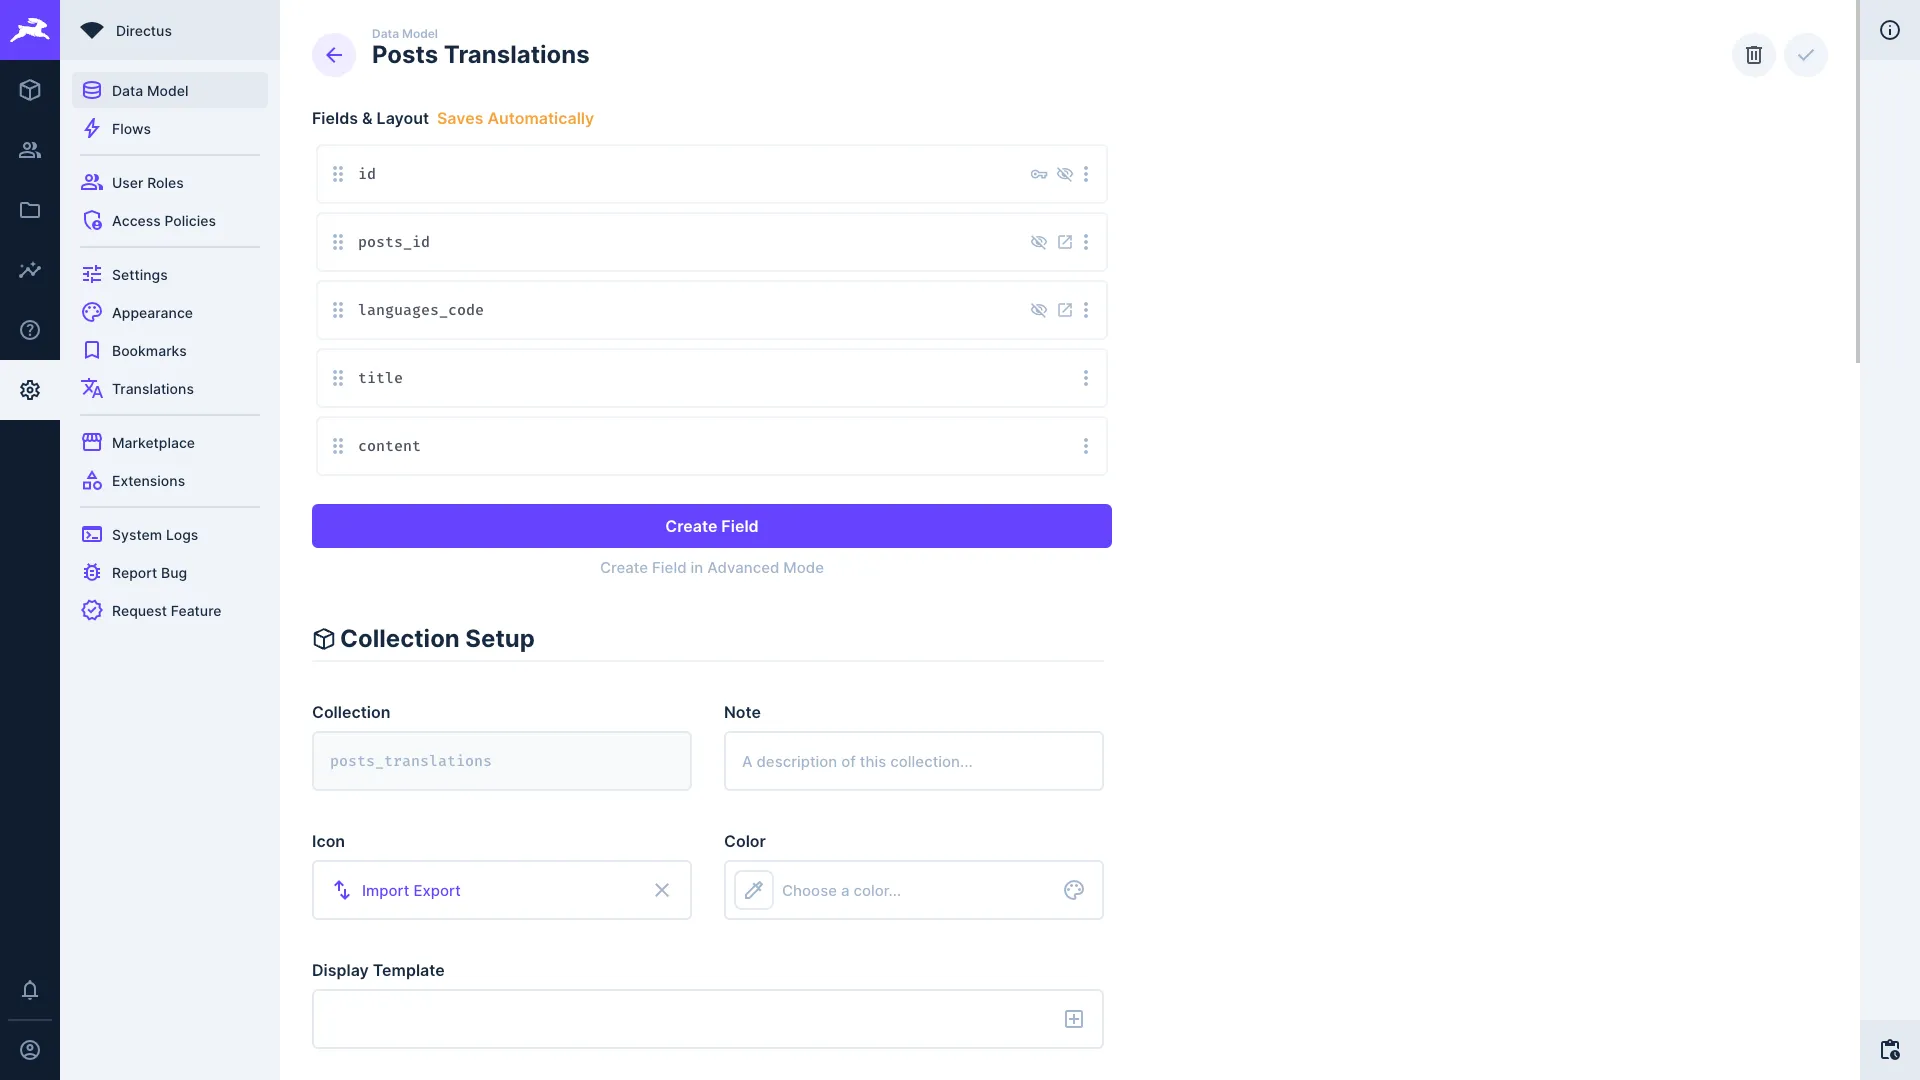 Now, when editing an item of that collection, you'll be able to add translations for those fields.
RTL Support
Directus provides comprehensive Right-to-Left (RTL) language support for both content editing and the entire studio interface.
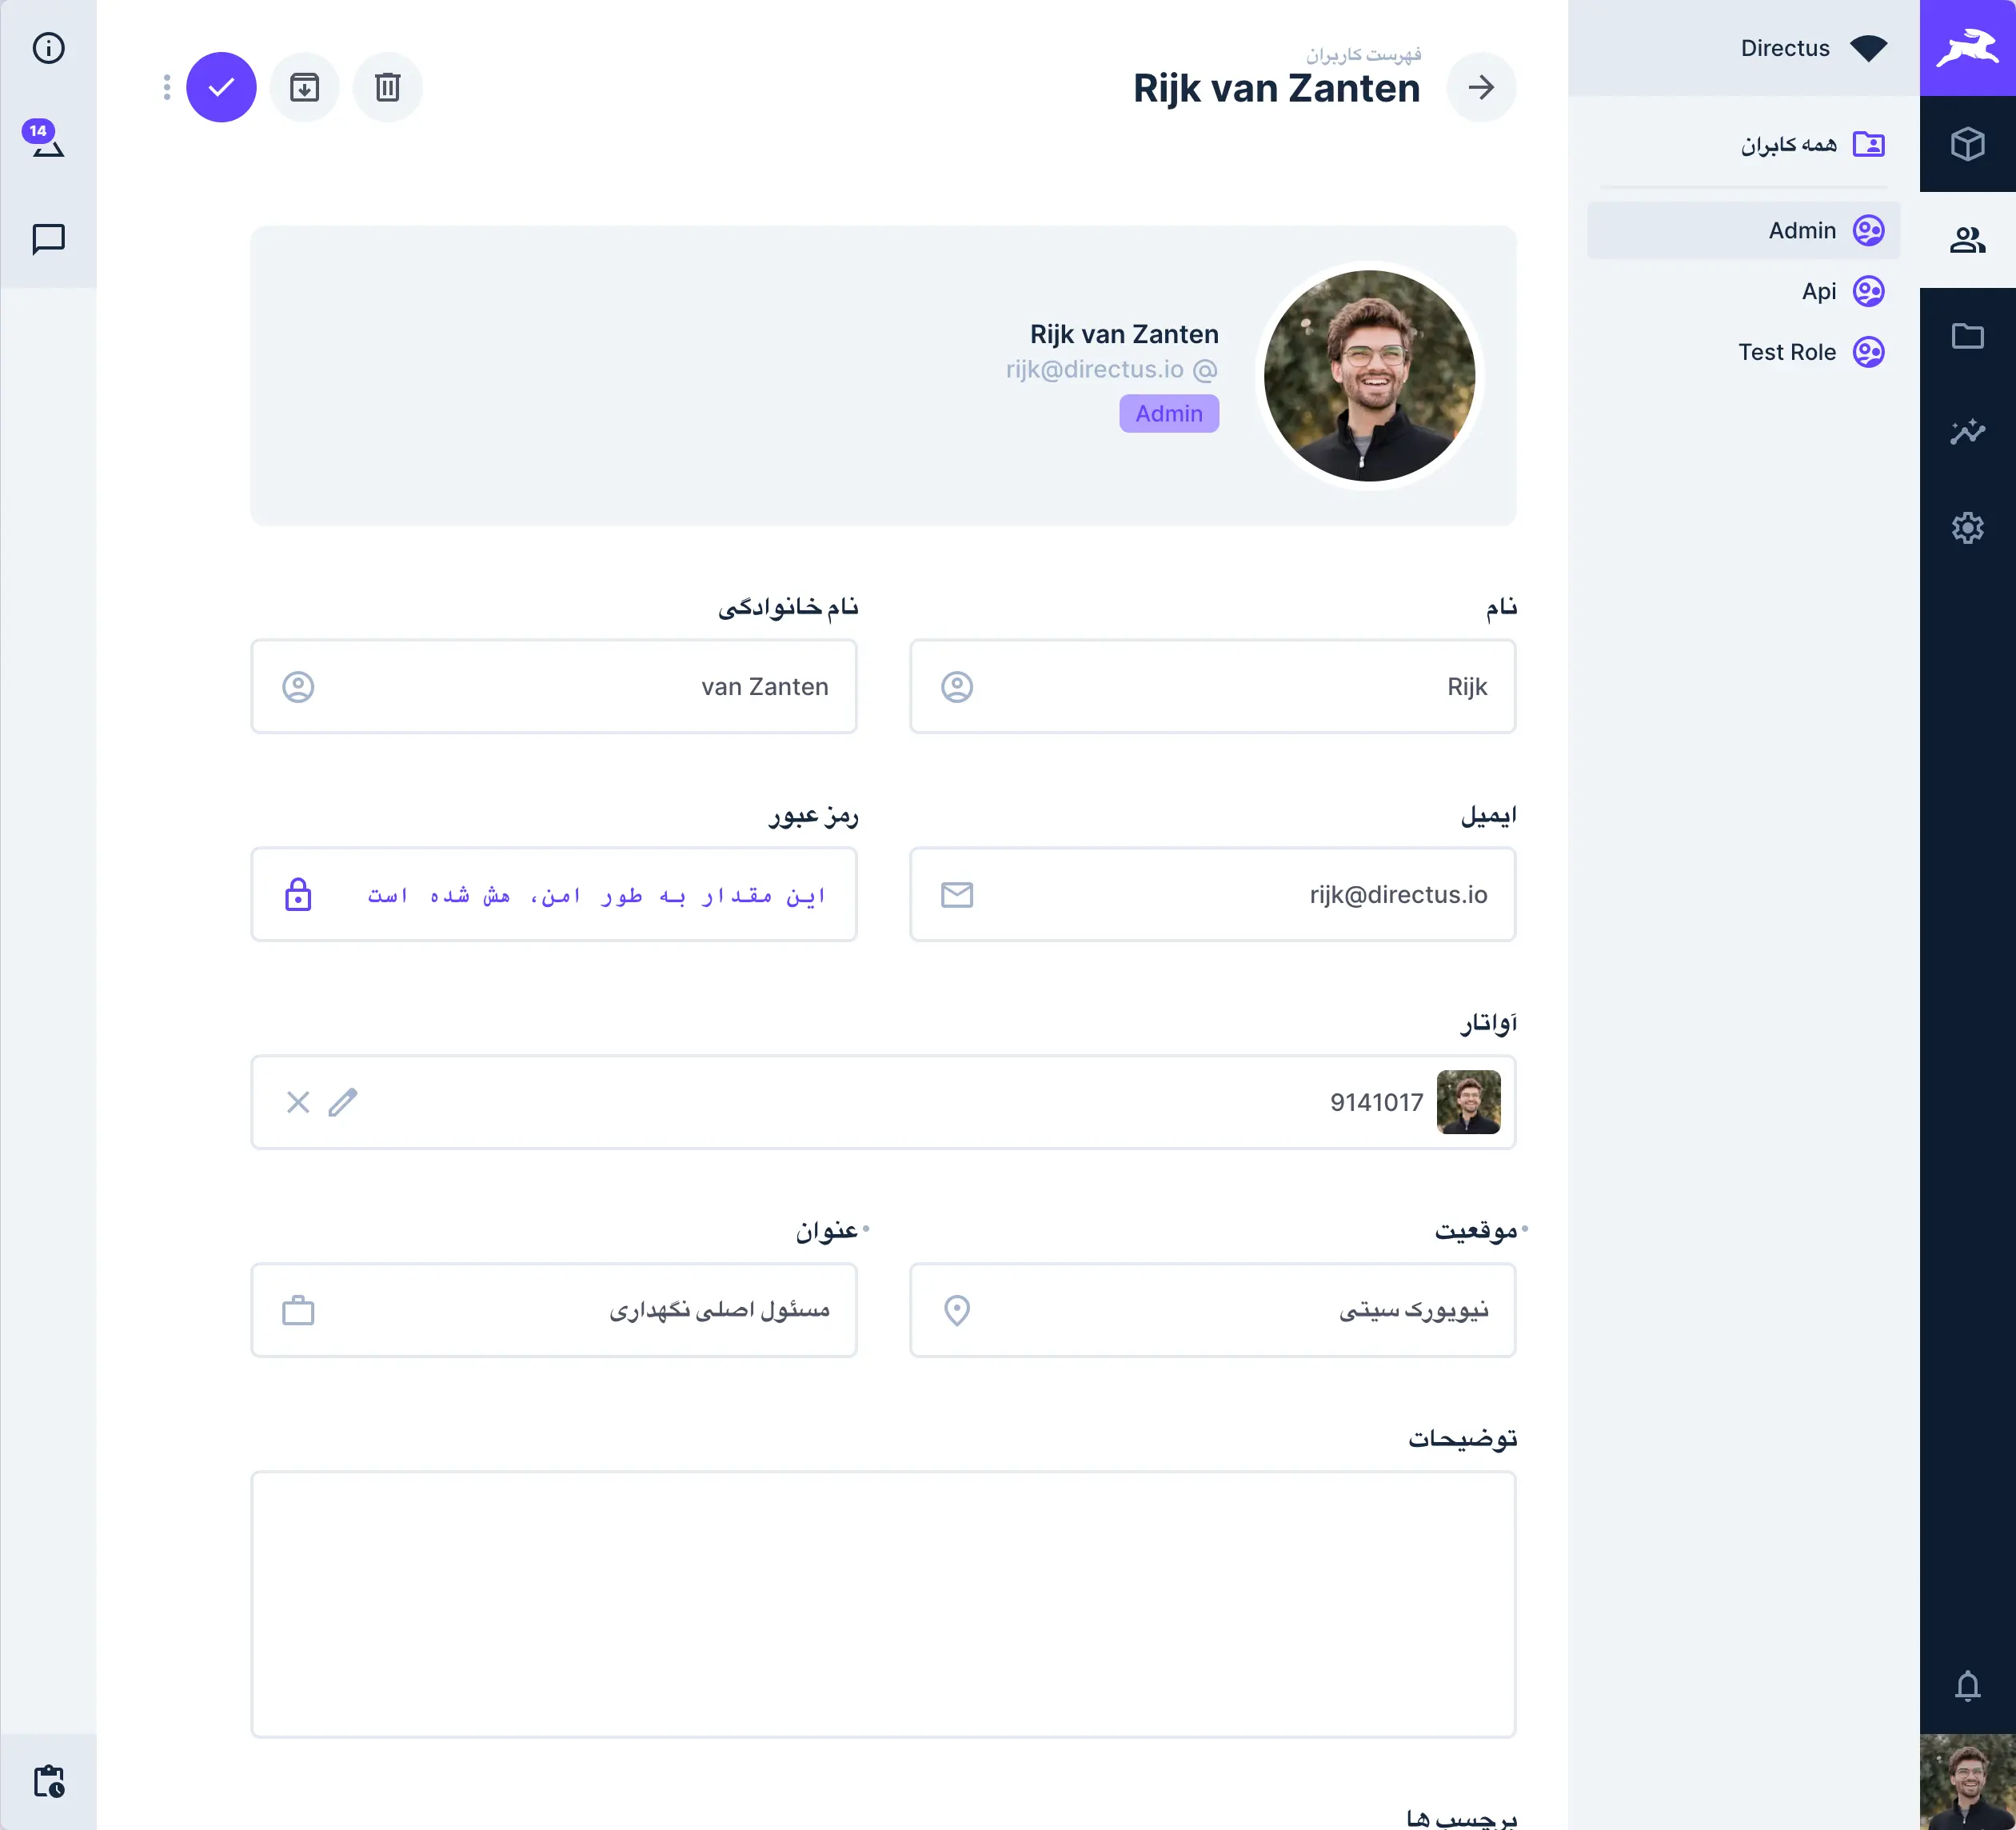
Automatic RTL Detection
The studio automatically switches to RTL rendering mode when using languages that are commonly written in RTL direction, including:
- Arabic (
ar-SA) - Farci (
fa-IR) - Hebrew (
he-IL)
Manual RTL Override
To manually control the text direction regardless of selected language:
- Navigate to your user profile
- Look for the "Text Direction" option
- Choose between:
- "Automatic" - Follows the language's natural direction
- "Left to Right" - Forces left-to-right direction
- "Right to Left" - Forces right-to-left direction
Get once-a-month release notes & real‑world code tips...no fluff. 🐰